


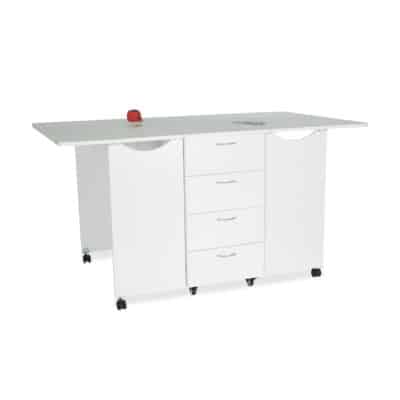
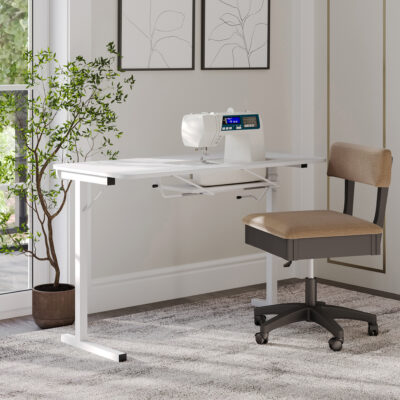
Dixie Cutting Table
$799.00
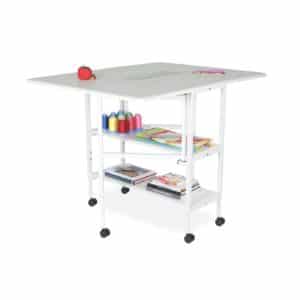
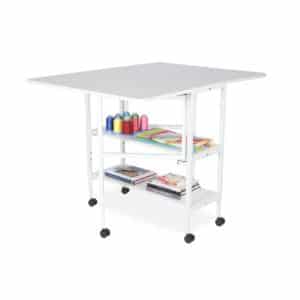
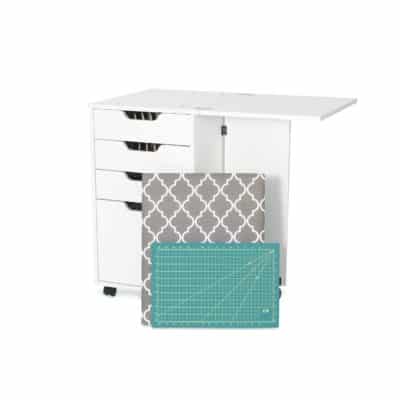
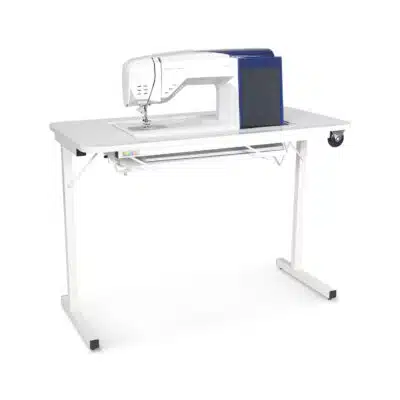
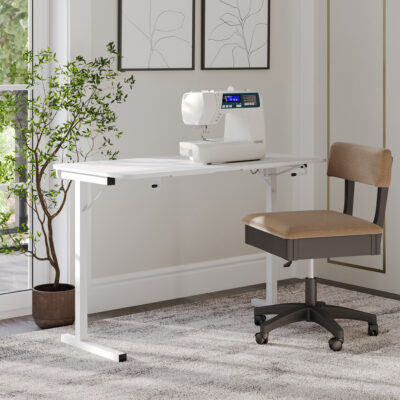
Cut it out! Dixie is the signature height-adjustable cutting table by Arrow Sewing Furniture highlighted an expansive 49″ x “37 worksurface! Dixie was designed to be a dynamic, durable and dependable addition to your sewing area, featuring 6 heavy-duty locking casters for stability and easy mobility, dual shelving units to store sewing and crafting accessories, and an optional 46″ x 34″ pinnable cutting mat!
Sold Out – Discontinued
Description
Description
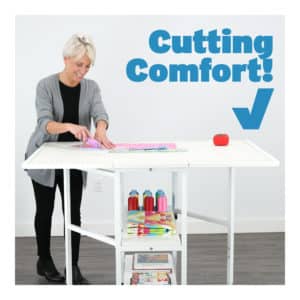
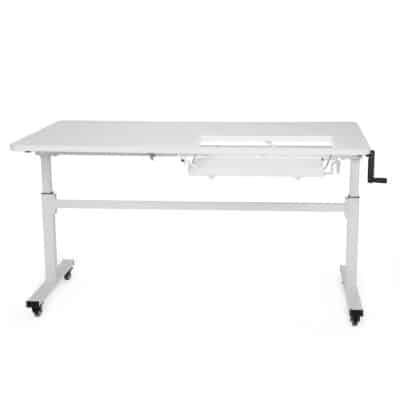
- Height adjustable cutting table to comfortable cut fabric and other materials
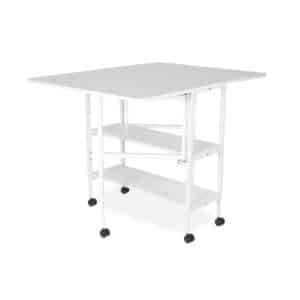
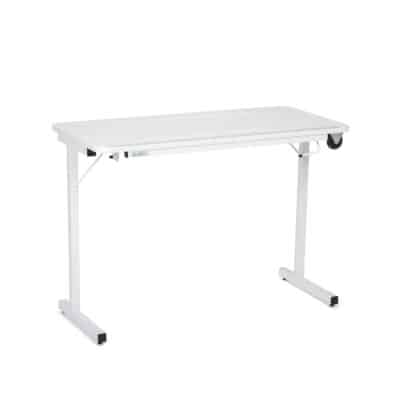
- 2 fold out leaves create a 49” to 37” cutting surface for large projects
- Metal frame provides sturdiness across entire workspace, corner to corner
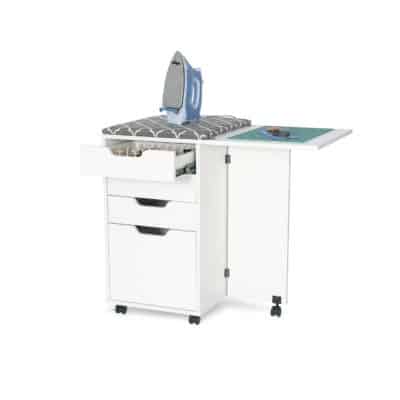
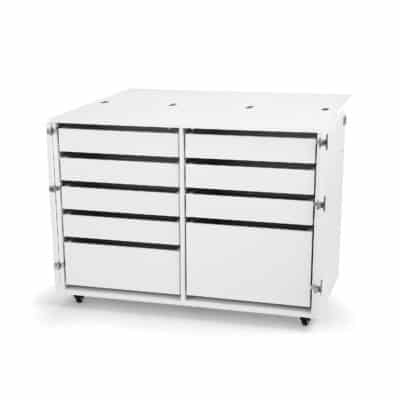
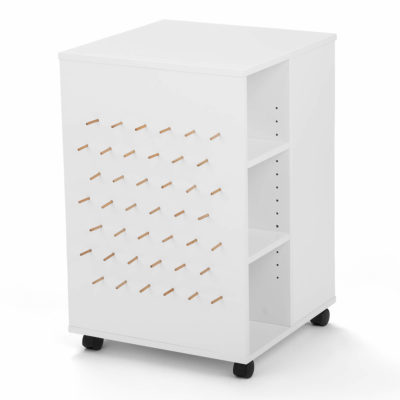
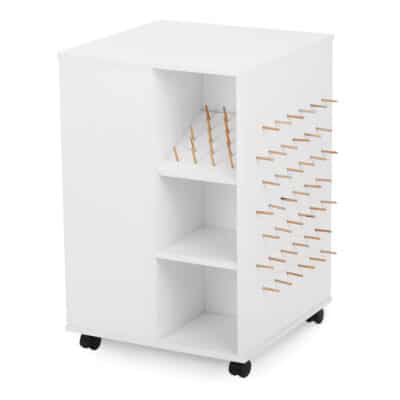
- 2 shelves to store notions, fabric and other crafting accessories
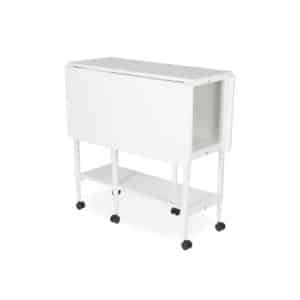
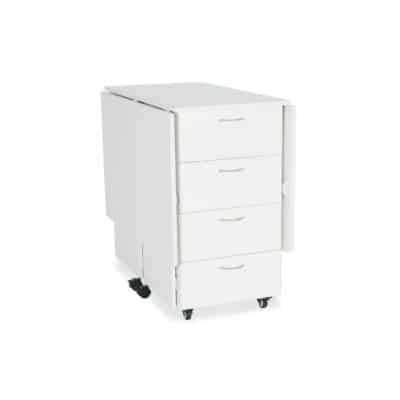
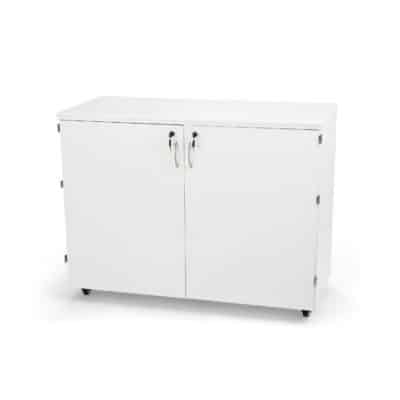
- Table folds into small, compact footprint while not in use
- Sturdy design with heavy-duty locking casters for stability and easy mobility
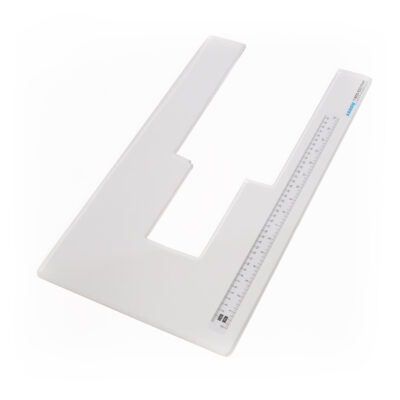
- Optional 46″ x 36″ Cutting Mat (MAT-C) available.
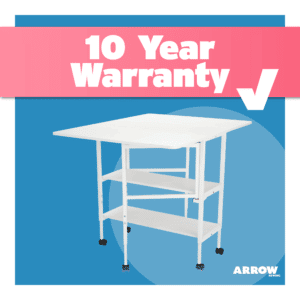
- 10-year warranty, worry-free performance
Dimensions
Dimensions
- Dimensions (Open):
- 49” W x 37” D
- Height Adjustable from 32″ to 38″
- Dimensions (Closed):
- 14” W x 37” D
- Height Adjustable from 32″ to 38″
Product Sheet for Dixie Cutting Table can be viewed and downloaded here.

Shipping Info
Shipping Info
- Arrow Sewing determines shipping carrier (FedEx or UPS)
- Sewing furniture can’t be shipped to a PO Box
- Dixie Cutting Table will arrive in 2 boxes
Assembly Manual
Assembly Manual
Assembly Manual for Dixie Cutting Table can be viewed and downloaded here.
Reviews (3)

3 reviews for Dixie Cutting Table