Everything is ready for your next big sewing project. Your station is set up, threads and needles ready to go, and your pattern is prepped before you. Time to start sewing! There’s just one problem. Your sewing machine has a jam in it. Few things are more frustrating for a sewing enthusiast than a jamming sewing machine. It disrupts your flow, slows your progress, and can damage your fabric or project. This article will explore the common causes behind sewing machine jams and provides practical solutions to fix them.
We’ll cover everything from issues with the bobbin and threading to improper needle usage and tangled threads. By understanding the root causes and implementing the appropriate remedies, you’ll be able to troubleshoot and resolve sewing machine jams, ensuring smooth and enjoyable sewing sessions.
Common Causes of Sewing Machine Jamming
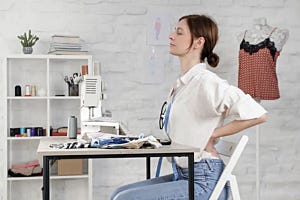
If the needle stops moving, the fabric won’t feed, the threads start to bunch, or unusual sounds start to emit - chances are that your sewing machine is jammed. A sewing machine jam isn’t the end of the world and can usually be attributed to one of many easily fixable issues.
Establishing a regular maintenance routine for your sewing machine will prevent future clogs and jams. After use, frayed threads or extra fabric can get lodged in the machine, causing a build-up over time. By taking care of your sewing machine and cleaning it out, you can prevent jams before they happen. Over time, too many jams can cause lasting damage to your sewing machine, so it’s in your best interest to take care of the internal mechanisms.
So why does my sewing machine keep jamming? Well, there are a few common causes that could be contributing to your sewing machine jams. A clog in the inner mechanisms causing your thread to bunch, loose fabric getting tangled in the feeding process, and improperly placed needles could cause your sewing machine to jam. Let’s take a closer look at some of the common causes and symptoms of sewing machine jams.
Incorrect Thread Tension
Incorrect thread tension can cause the upper thread and lower thread (bobbin thread) to pull on the fabric unevenly. When the tension is too tight on either thread, it can result in the fabric not being fed through the machine properly. This can lead to the fabric getting stuck or causing the needle to become misaligned.
It’s essential to adjust the thread tension based on your needs to avoid future sewing machine jams. Keep adjusting the settings and testing on loose fabric until you’re happy with the feel of the thread tension. Ensure to use proper threading for each project and clean your machine of loose threads after each use.

Thread Misplacement
If the needle is not properly threaded, it can cause the thread to snap during sewing. This can lead to a jam as the broken thread may get entangled in the machine’s moving parts. Removing the thread after it gets tangled can be quite a headache, so it’s important to thread your machine properly before starting a project.
Your sewing machine will come with threading instructions that take you on a step-by-step guide to proper threading. Each machine has its own set of thread instructions, so be sure to follow the manual to thread properly. Ensure that the thread is correctly positioned through all the necessary guides, tension discs, and the needle’s eye, and then you’re ready to get back to sewing jam-free!
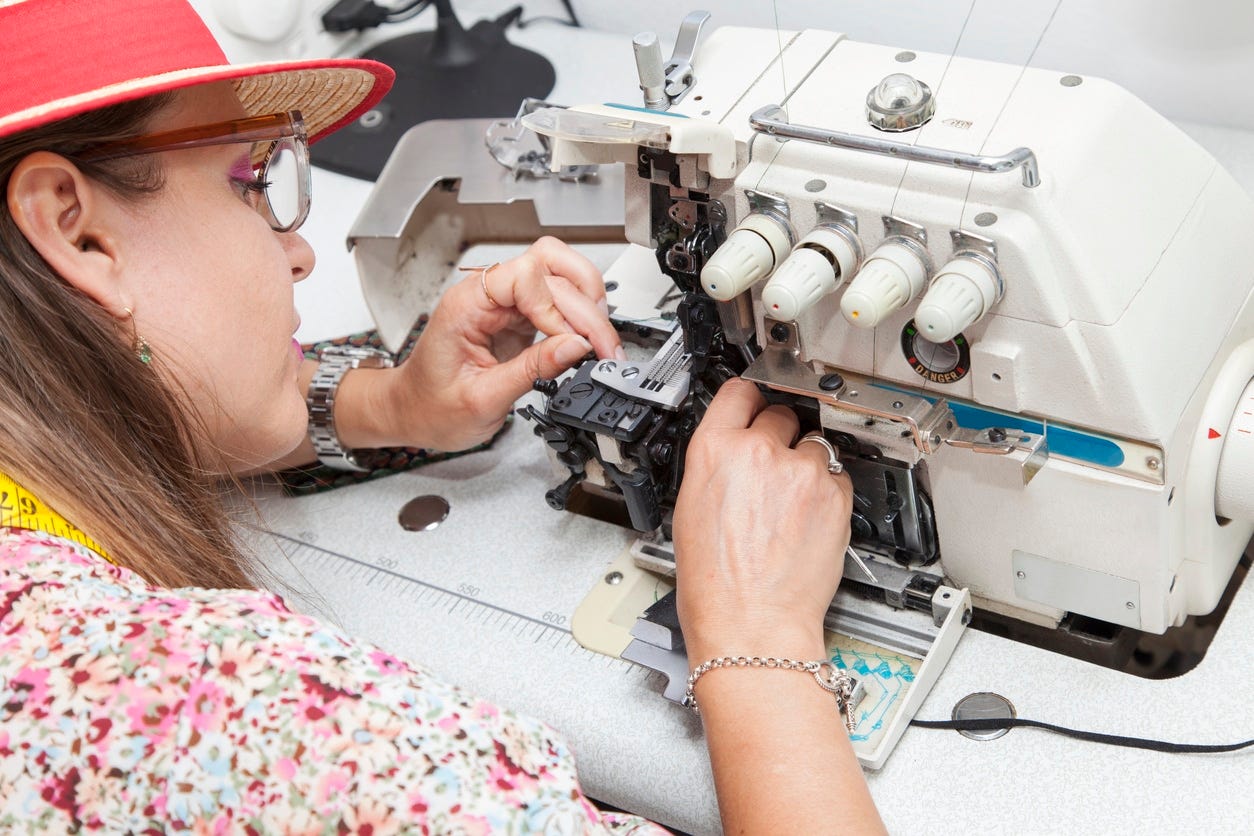
Bobbin Issues
Much like the needle thread, the bobbin thread can be a common culprit for sewing machine jams. When the bobbin thread is not correctly wound onto the bobbin or threaded through the bobbin case, it can lead to uneven tension and thread bunching underneath the fabric. This can cause the sewing machine to jam as the tangled threads interfere with the needle’s movement.
Your sewing machine should come with detailed instructions on how to thread the bobbin to avoid jams properly, but here is a quick rundown of the steps:
- Select a suitable bobbin and the matching thread.
- Follow the threading path outlined in your manual.
- Hold the bobbin and the upper thread together and pull both under the presser foot.
- Close the bobbin case or slide plate securely.
Dull or Bent Needles
Sometimes, the jam itself isn’t inside the machine. The call doesn’t always come from inside the house! One cause of your needle not functioning correctly could be the needle itself. Check that the needle isn’t dulled or bent. Dull or bent needles tend to cause stitching skips or fabric pulls, which can mimic a sewing machine jam. The best practice is to replace your needle after each project is complete. This will help ensure your needle is sharp and ready for the next project each and every time!
Replacing a sewing machine needle is a straightforward process. Begin by ensuring your sewing machine is turned off. Raise the presser foot to release tension on the needle. Most machines have a needle clamp or screw to hold the needle in place—use a screwdriver or your hand to loosen and remove the old needle. Insert the new needle with the flat side facing the back or per your machine’s guidelines. Tighten the needle clamp or screw securely but not overly tight. Double-check that the needle is inserted correctly and at the right height for your fabric thickness. Finally, lower the presser foot, and you can continue sewing with a fresh needle for optimal stitching results.
Fabric and Needle Mismatch
If the fabric and needle don’t match, you’re gonna have a bad time! Needles can be very particular, which is great when working on a specific fabric requiring a tougher needle. However, when the wrong needle is paired with the wrong fabric, sewing machine jams become imminent. Proper sewing tool organization can help mitigate product mismatching.
Here are a few of the most common types of needles and their uses:
- Universal Needles: These needles are versatile and suitable for a wide range of fabrics, from lightweight to medium-weight. They have a slightly rounded point that can pierce woven and knit fabrics without causing snags.
- Ballpoint Needles: Designed for knit and stretch fabrics, ballpoint needles have a rounded tip that slides between the fabric fibers instead of piercing them. This prevents runs or snags in stretchy materials like jersey and spandex.
- Sharp Needles: Also known as Microtex or quilting needles, these needles have very fine and sharp points, making them ideal for precision sewing on lightweight and tightly woven fabrics like silk, microfiber, and satin.
- Jeans/Denim Needles: These needles are robust and have a strong, thick shaft. They are designed for heavy fabrics like denim, canvas, and upholstery materials, as they can easily penetrate multiple layers.
- Embroidery Needles: Designed for machine embroidery, these needles have a larger eye to accommodate embroidery threads. They come in various sizes to suit different thread weights and fabric types.
- Leather Needles: Leather needles have a chisel-like point that easily pierces through leather and suede without tearing or damaging the material. They are also suitable for vinyl and faux leather.
- Quilting Needles: These needles are similar to universal needles but have a tapered point. They’re designed for quilting and piecing quilt layers together, providing neat and even stitching.
- Twin or Double Needles: Twin needles have two needles on a single shaft, allowing you to create parallel rows of stitches. They’re commonly used for decorative topstitching and hems.
- Serger Needles: Serger or overlock machine needles are specially designed for sergers. They come in various configurations to accommodate stitch types and thread setups on serger machines.
- Metallic Needles: These needles are designed for sewing with metallic or specialty threads. They have a larger eye and a special coating to reduce friction and prevent thread breakage.
- Wing or Hemstitch Needles: Wing needles have wide, flat sides that create holes or openings in the fabric, producing a decorative hemstitch effect. They are often used for heirloom sewing and decorative detailing.
- Topstitch Needles: These needles have an extra-large eye to accommodate heavy topstitching threads. They are ideal for creating prominent and neat topstitching on garments and projects.
Using a ballpoint needle on a piece of leather will not yield many favorable results unless you enjoy jammed sewing machines, so pair the right needle with the right fabric.
Troubleshooting and Fixing Sewing Machine Jams
Just because your sewing machine is jammed doesn’t mean it’s the end of the sewing session - setting aside time for sewing is hard enough as it is. Let’s look at some of the best practices for effective sewing machine jam troubleshooting and fixing so you can get back to the project with minimal downtime!
Stop and Assess
Sewing machine jams can spring up from nowhere, so the first step is not to panic. It can be frustrating, especially if the jam happens mid-project, so start the jam-fixing process by stopping the machine and assessing the damages. Turn off the machine and see if you can spot any clogs or bunches before taking the machine apart. If the needle is bent or broken, start the replacement process for just the needle. If the thread is visibly snagged on an external part of the machine, pull it loose, cut the knots, and re-thread the needle.
Some jams may require further assessment inside the machine. If no external problems are visible, take the shell of the sewing machine off and check the internal mechanisms for snags and clogs.
Remove Fabric and Thread
Here is a quick step-by-step guide on how to safely remove tangled fabric and thread from your machine:
- Turn Off the Machine: First and foremost, ensure that the sewing machine is turned off and unplugged for safety.
- Raise the Presser Foot: Lift the presser foot to release tension on the thread and fabric. This will make it easier to work with and remove the tangled materials.
- Cut the Threads: Use a pair of small scissors or snips to cut any threads that are tangled or bunched up carefully. Be precise and avoid cutting any parts of the sewing machine.
- Remove the Bobbin: Open the bobbin case or slide plate to access the bobbin area. Remove the bobbin and any loose threads from the bobbin area.
- Gently Pull Fabric: If the fabric is tangled, gently pull and unwind it from around the needle and other machine parts. Take your time and be patient to avoid causing further issues.
- Check the Needle: Ensure that there are no broken or bent needles. If the needle is damaged, replace it with a new one before resuming sewing.
- Inspect the Feed Dogs: Carefully examine the feed dogs (the teeth-like mechanisms under the presser foot) for any trapped threads or fabric. If necessary, use a pair of tweezers or a brush to remove debris.
- Clean the Machine: After removing the tangles, it’s a good practice to clean the sewing machine’s bobbin area and surrounding parts to remove any remaining lint, dust, or loose threads. Regular maintenance can help prevent future tangles.
- Re-Thread the Machine: Re-thread the machine once the tangled materials are removed and the machine is clean, following the manufacturer’s instructions in your sewing machine manual. Ensure proper tension settings.
- Test the Machine: Run a test stitch on a piece of scrap fabric to ensure the machine is operating smoothly and has no residual issues.
Following these instructions will enable you to effectively remove any and all snags and clogs in your sewing machine while avoiding damage to the machine itself. Most jams in your sewing machine are easy to fix. Damage caused while repairing a jam, however, will not be so fun to repair.
When Should You Seek Professional Help?
Some jams can be much more serious than others. If the jam is clearly attributable to loose thread or fabric getting stuck in the machine, then it’s likely that you’ll be able to fix the problem on your own. If the issue is with the machine itself and its internal components or if damage occurs while attempting to remove the sewing machine jam, then you might need to seek help from a professional technician.
Finding the right sewing machine technician can be tricky, but as long as you keep your search to local businesses, read reviews thoroughly, and seek recommendations from sewists in your community, you’ll have your sewing machine jam repaired in no time!
Preventing Future Sewing Machine Jams
Fixing this one jam doesn’t mean you’re out of the woods yet! You’ve seen how frustrating jams can be, so it’s important to avoid asking yourself, “Why does my sewing machine keep jamming?” in the future.
Best Practices for Proper Sewing
Proper sewing practices are the best way to avoid jams, mostly because improper sewing practices are the best way to cause them. By adhering to your sewing machine’s manual, properly setting up your machine, and general guidelines for proper sewing, you can reduce the amount of jams that occur. Properly threading your machine, pairing the right fabrics with the right needles, and maintaining regular upkeep of your sewing machine will go a long way toward extending the machine’s life.
Maintain good sewing habits, reduce the amount of jams that occur, and enjoy your sewing projects without interruptions!
Regular Maintenance Schedule
Maintaining your sewing machine is essential for both its longevity and your sewing results. Follow this maintenance schedule to keep your machine in prime condition. On a daily basis, clean the machine and replace the needle if necessary. Weekly, engage in a more thorough cleaning, wipe down the exterior, and consider oiling the machine following the manufacturer’s instructions. Monthly, double-check tension settings and the condition of your threads.
Every 3 to 6 months, perform a deep cleaning by disassembling components like the bobbin case and needle plate. Inspect the timing and belts, and clean the tension discs. Annually, consider professional servicing for a comprehensive inspection, cleaning, and adjustments. Remember that specific maintenance needs can vary based on your sewing machine's usage, type, and manufacturer recommendations. Consistent maintenance not only reduces the risk of jams but also ensures your sewing machine remains a reliable tool for your creative projects.
Sewing is one of the most rewarding, fun, and useful activities you can do in the comfort of your own home. Dealing with sewing machine jams, however, is not. By following best practices for sewing, properly threading and preparing your needles, and regularly maintaining the upkeep of your sewing machine, you can keep your sewing free from any jams (or jellies). Keep an eye on any loose threads or fabrics, and use the best needles for the project to extend the life of your sewing machine. Happy sewing!