If you’re a sewing enthusiast, you know that a well-functioning sewing machine is essential for a smooth and successful project. One crucial aspect of sewing machine maintenance is knowing how to replace the needle. Whether your needle has become dull or broken or you want to switch to a different type, learning how to replace a sewing machine needle is a skill every sewist should have.
In this guide, we’ll take you step by step through the process, ensuring you can effortlessly replace your sewing machine needle and keep your sewing machine running smoothly.
Before You Start Replacing the Thread Needle
Needles are sharp! Safety is essential to any replacement process. Getting stabbed by the sewing needle puts a damper on your creativity, so ensuring you take steps to avoid machine errors and accidental impaling is well worth your while.
It’s common to discover the needle needs replacing midway through a sewing session. When this happens, the first step is to turn off the machine. The sewing machine doesn’t need to be on to replace the needle, and accidentally starting the machine while handling the sewing needle is one of the easiest ways to get hurt.
Understanding the Sewing Machine Needle
Now that safety measures are addressed, let’s look at the needle. Sewing machine needles can bend, dull, and break quickly, so keeping a stash of replacement needles on hand is important.
The project you’re working on may even require you to switch needle types. Working with leather requires a leather needle, not a quilting needle. Each needle will have different size requirements, making the replacement process slightly different.
Replacing needles can be different for every machine, but the steps should be similar as long as you know the anatomy of the needles and the machines. Replacing a Brother sewing machine needle should be no more complicated than replacing a Singer sewing machine needle or a Janome sewing machine needle.
Anatomy of a Sewing Machine Needle
A sewing machine needle is a small but crucial component in the sewing process. It consists of several parts:
- Shank: The shank is the upper part of the needle inserted into the sewing machine’s needle clamp. There are two types of shanks: flat shanks and round shanks. Make sure to choose the correct type for your machine.
- Shaft: The long, slender portion of the needle. It extends from the shank to the point of the needle.
- Groove: A shallow groove running down the front side of the needle. This groove helps guide the thread down to the eye of the needle.
- Eye: The small hole at the bottom of the needle. This is where the thread passes through, allowing the needle to carry the thread to form stitches.
- Point: The tip of the needle. The point type can vary depending on the needle’s purpose, such as ballpoint, universal, or sharp.

Important Machine Parts in the Replacement Process
When replacing a sewing machine needle, you’ll interact with several machine parts, and it’s essential to understand their functions:
- Needle Clamp: The part of the sewing machine that holds the needle in place. It’s usually secured with a screw or a mechanism that allows you to tighten or loosen the needle.
- Needle Bar: This mechanical component moves the needle up and down as you sew. The needle is attached to the needle bar.
- Presser Foot Lever: The lever raises or lowers the presser foot. This piece is important because you’ll often need to raise the presser foot to access the needle area for replacement.
- Needle Plate: The metal plate with a hole through which the needle passes to reach the bobbin area. It also has markings for seam allowances and guides.
- Bobbin Case or Hook Assembly: This is where the lower thread (bobbin thread) interacts with the upper thread (needle thread) to form stitches. While replacing the needle, you may need to remove or adjust this area, depending on your machine’s design.
- Thread Guides and Tension Disks: These small metal or plastic components help correctly guide the thread through the machine. You may need to thread the needle through them as part of the replacement process.
Gather the Necessary Tools and Materials
Now that safety is taken care of and the research has been done, it’s time to gather the necessary tools for the job. The number one tool you will need, regardless of the sewing machine and sewing machine needle, is a trusty screwdriver.
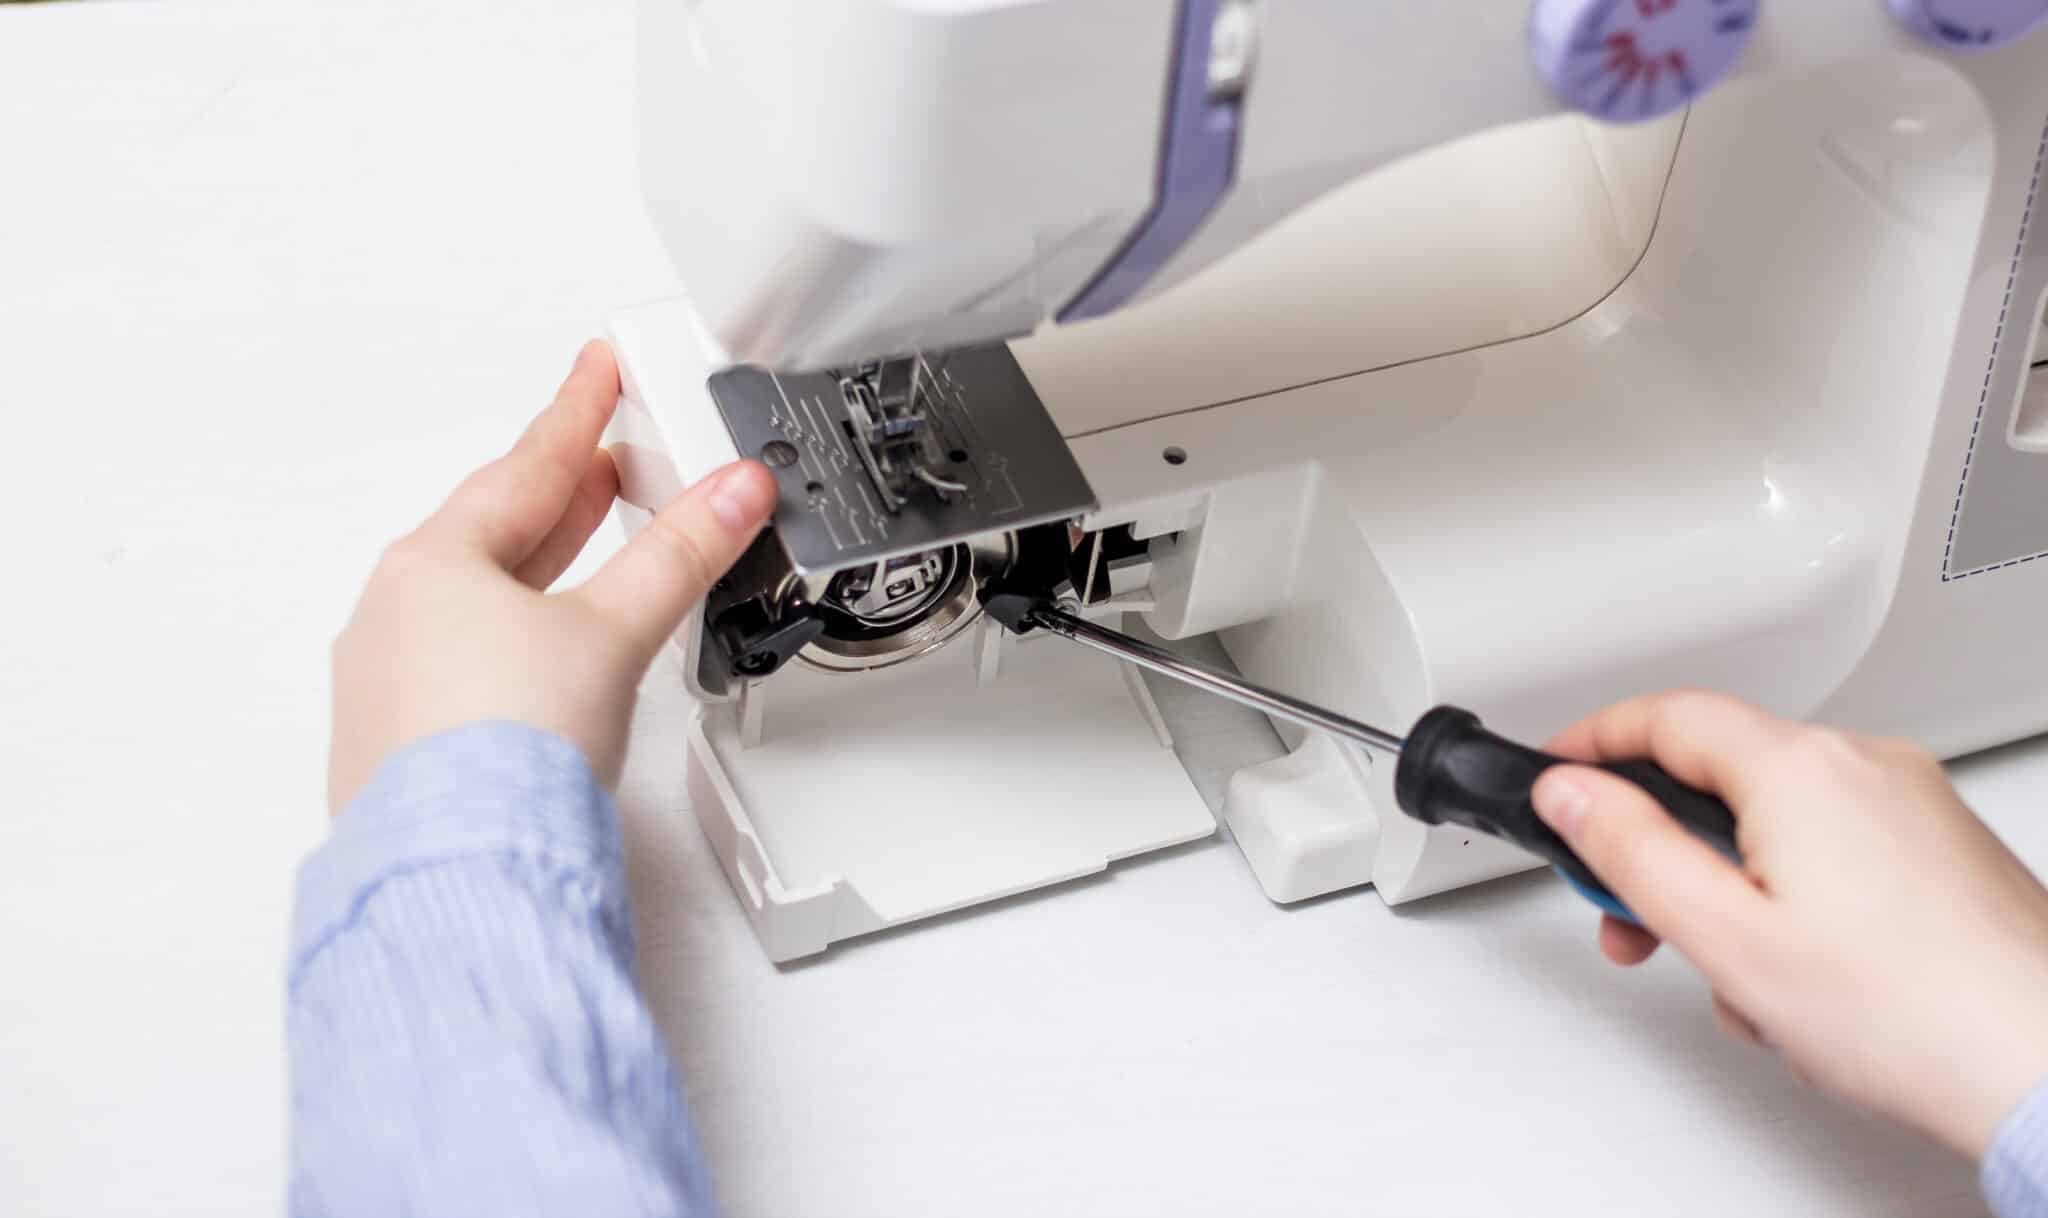
Most sewing machines require a screwdriver to loosen and tighten the needle clamp. Check the machine manual to determine the type and size of screwdriver needed.
Once you’ve obtained your screwdriver and assessed the type of needle you’ll need – Ball Point, Sharps, Quilting, Leather, Stretch, or Jeans – it’s time to start the replacement process.
Preparing the Sewing Machine
After turning off the sewing machine, raise the needle to the highest position so you can easily access and maneuver the old sewing needle out of the clamps. Having the needle in the highest position will make inserting the new sewing machine needle easier once the old one has been removed.

How Do You Remove an Old Sewing Machine Needle?
Removing an old sewing machine needle is a relatively simple process. Here are step-by-step instructions to guide you through the process:
- Raise the Presser Foot: Use the presser foot lever on your sewing machine to raise the presser foot. This step is essential because it allows you better access to the needle area.
- Loosen the Needle Clamp Screw: Locate the needle clamp, usually near the top of the needle bar, just above the needle.
- Remove the Old Needle: Pull down on the old needle with your fingers or use tweezers if necessary. Hold the needle at its shank (the upper, thicker part) to avoid touching the sharp point.
- Dispose of the Old Needle Safely: Place the old needle in a designated container for used needles, such as a small plastic bottle with a screw-on lid. Label the container as “used needles” to prevent accidental injuries when disposing of it.
- Inspect the Needle Area: Take a moment to inspect the needle plate area and the feed dogs (the tooth-like mechanisms under the needle plate) for any loose fabric threads, lint, or debris. Use a lint brush or compressed air to clean this area if needed.
How Do You Insert a New Sewing Machine Needle?
Inserting a new sewing machine needle is a straightforward process, but it’s essential to do it correctly to ensure proper sewing performance. Remember that different sewing machines might have different steps, so it’s important to check the machine manual before proceeding with replacement.
- Raise the Presser Foot: Use the presser foot lever on your sewing machine to raise the presser foot. This action releases the tension on the upper thread, making it easier to insert the needle.
- Loosen the Needle Clamp Screw: Locate the needle clamp, usually near the top of the needle bar, just above the needle.
- Insert the New Needle: Hold the new needle by its shank (the upper, thicker part). Ensure that the flat side of the needle faces the back of the sewing machine (refer to your sewing machine’s manual for confirmation). The flat side is typically positioned toward the back or away from you. Slide the new needle upward into the needle clamp until it is fully seated at the top. Make sure the needle is inserted as far as it will go, with the shank flush against the needle clamp.
- Tighten the Needle Clamp Screw: Use the screwdriver to securely tighten the needle clamp screw by turning it clockwise. Ensure that it is snug but not overly tight, as overtightening can damage the needle or the needle clamp.
- Lower the Presser Foot: Lower the presser foot back down using the presser foot lever. This action re-engages the tension on the upper thread.
- Thread the Machine: Follow your sewing machine’s instructions to thread the upper thread through the new needle’s eye.
Conduct a Test Stitch and Troubleshoot Needle Issues
Once the new needle is installed and the machine is threaded, conduct a test stitch on a scrap piece of fabric to ensure the needle is properly installed and the machine is sewing correctly.
If the test stitch revealed any needle issues, it’s time to troubleshoot. Begin by identifying the specific problems that are occurring and determine the appropriate course of action to mitigate these issues. For instance, if you’re experiencing thread breakage, it could indicate you’re using an incorrect needle type. On the other hand, problems like skipped stitches, fabric puckering, snags, and jams may suggest an improperly positioned needle.
In most cases, understanding the nature of these issues will provide insights into their causes. Your initial response should involve removing and reinserting the sewing machine needle correctly. However, if this doesn’t resolve the problem, replacing the needle with a new one may be necessary to ensure smooth and trouble-free sewing.
Maintenance and Needle Replacement Schedule
Regularly cleaning and maintaining your sewing machine will help reduce needle breakage and dulling. This helps reduce the frequency of needle replacement and machine tampering. The more time you spend caring for the upkeep of your machine, the less time you’ll have to worry about taking it apart and fixing deeper issues.
The recommended use time of a needle is anywhere from 8-24 hours of usage. Many sewists recommend replacing the needle with each project. You’ll be able to tell when a needle starts to dull or needs replacement as the quality of the stitch begins to wane.

Proper Storage for Your Needles
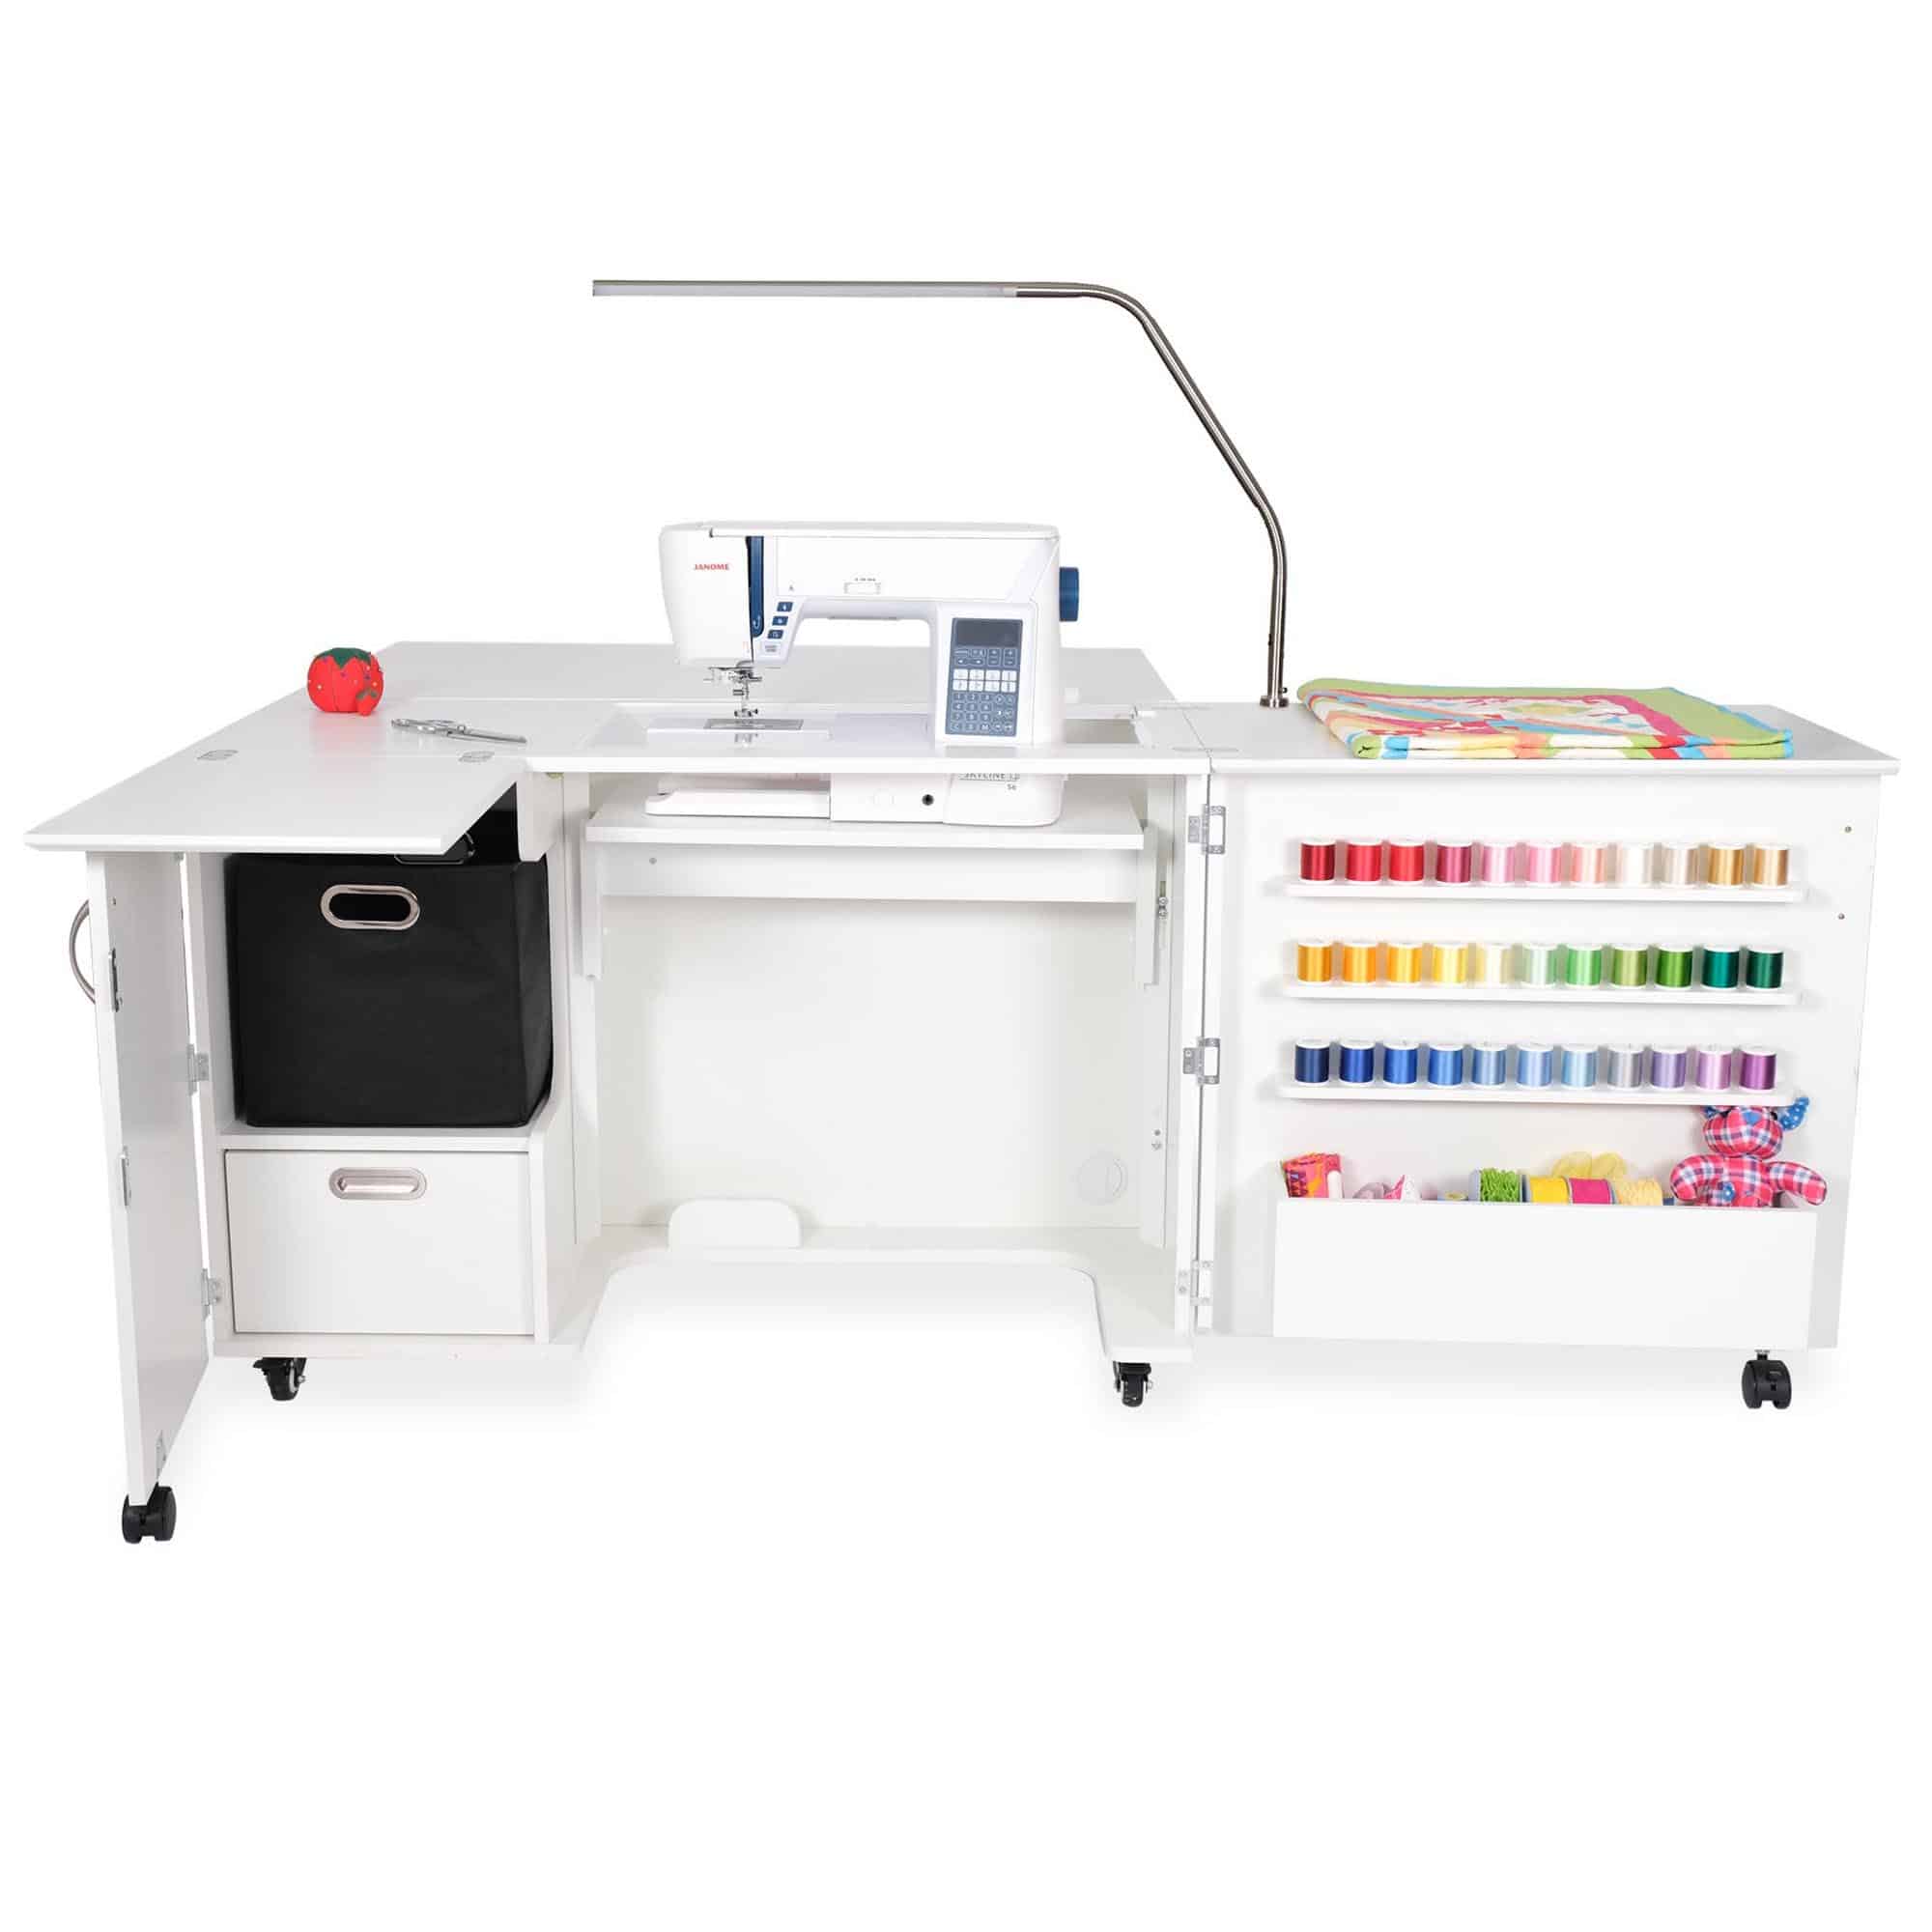
Properly storing sewing needles is crucial to keep them organized, protected, and in excellent condition for future use. After replacing a sewing machine needle, it’s essential to ensure they are stored correctly. Invest in a sewing cabinet with a dedicated needle case with labeled compartments for different needle types and sizes.
This makes it easy to keep your needles sorted and readily available. If you don’t have a specialized organizer, consider labeling your needle packages or containers, indicating the needle type and size. Additionally, a magnetic pin cushion or needle holder can be a handy alternative, allowing needles with metal shanks to attach securely.
Store needles in a dry, clean environment to prevent rust or corrosion, away from moisture and direct sunlight. Airtight containers or zip-top bags can protect needles from dust and debris. Always keep needles out of reach of children and pets due to their sharp nature.
Regularly inspect your stored needles for damage or wear, safely disposing of any bent or damaged needles and replacing them as needed. Proper storage not only extends needle lifespan but also ensures you have the right needle at your fingertips for efficient and enjoyable sewing projects.
Replacing a sewing machine needle is a fundamental skill every sewer should master. While it may seem like a minor task, correctly installing a needle can significantly impact the quality and success of your sewing projects.
By following the step-by-step instructions outlined in this article, you can confidently and safely replace a sewing machine needle. Remember to select the right needle for your specific project, adhere to safety precautions, and consult your sewing machine’s manual for machine-specific guidance.
